To modify your Facebook page name, begin by logging into your account. Navigate to your page, access the settings, and propose a new name.
Initiating the Change
Start on your Facebook Page by selecting your profile picture at the top right corner. Then, go to “Settings & Privacy” > “Settings” and choose “General Page Settings.” Click on “Name” to proceed.
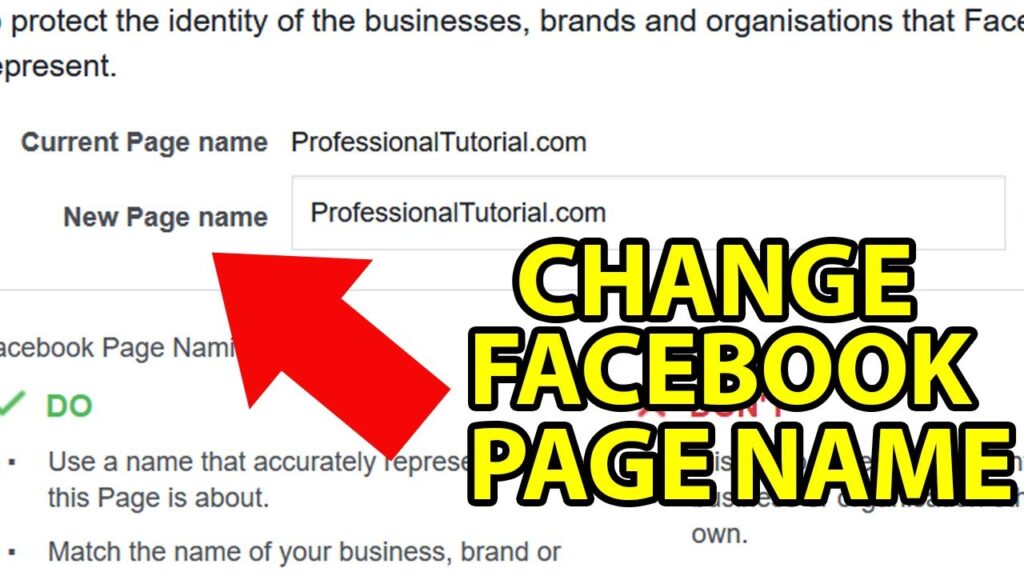
Submit Your New Page Name
In the “Page Name” field, type your desired name. Ensure it genuinely represents the theme of your Page. Click “Request Change” to send your proposal.
Key Considerations
- Page names can only be changed once every 60 days.
- Ensure your new name is also reflected on official documents.
- The page name should accurately depict the page’s content.
Understanding the Approval Process
Post-approval, changes cannot be reversed for 7 days during which your followers might be notified about the name change. If denied, the next request can be made after 60 days.
Extra Advice
While awaiting approval, keep your page operational and avoid unpublishing. This period is crucial as Facebook reviews your request to ensure it meets their standards.
Navigating Name Change Notifications
Although not all platforms notify followers about name changes, consider informing them through a post or update to maintain engagement and clarity.
Final Thoughts on Updating Your Page
Reviewing your page’s name change is crucial as it impacts how your audience recognizes you. By following the outlined steps, you can ensure a smooth transition to a new page name that better reflects your mission and content.