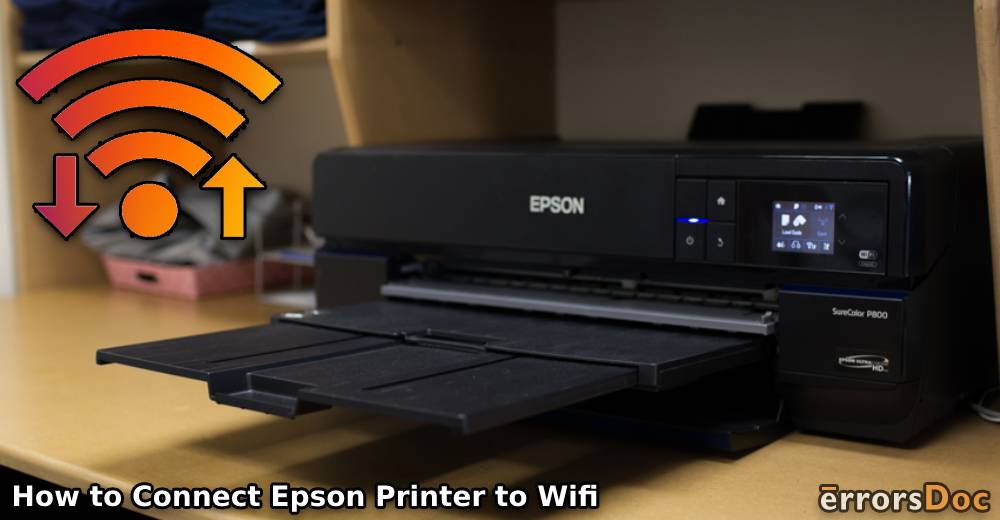
Connecting your Epson printer to Wi-Fi allows you to print from any device on your network without needing a physical connection. This guide walks you through the entire process, ensuring you can start printing wirelessly in no time.
Preparation: Ensuring Printer Readiness
Before starting, make sure your Epson printer is plugged in and turned on. This initial step is crucial for a successful setup.
Navigating Your Epson Printer’s Control Panel
Begin by pressing the Home button on your printer’s control panel. Use the directional arrows to navigate to the Wi-Fi Setup option and press OK to select it.
Selecting Your Network
After you press OK, your printer will display a list of available networks. Scroll through this list until you find your network name (SSID), then select it by pressing OK.
Entering Your Wi-Fi Password
With your network selected, you’ll be prompted to enter the Wi-Fi password. Ensure accuracy as you type, since an incorrect password can delay your setup process.
Finalizing the Connection
Once you input your password and press OK, your printer will connect to your Wi-Fi network. A confirmation message will appear once the connection is established.
Troubleshooting Tips
If you encounter any issues during the setup, don’t hesitate to consult the user manual provided with your Epson printer or visit the official Epson support website for detailed guidance and troubleshooting steps.
Wireless Freedom Awaits
By following these steps, your Epson printer should now be successfully connected to your Wi-Fi network. Enjoy the convenience of wireless printing from anywhere in your home or office. For further assistance, Epson’s customer service is always ready to help.